I'm working on a wooden dock for the playdate. After seeing folks 3D print charging docks I wanted to give it a go but I don't have access to a 3D printer so I decided to use wood.
I've made 2 prototypes so far and have some improvements I will make to the third.
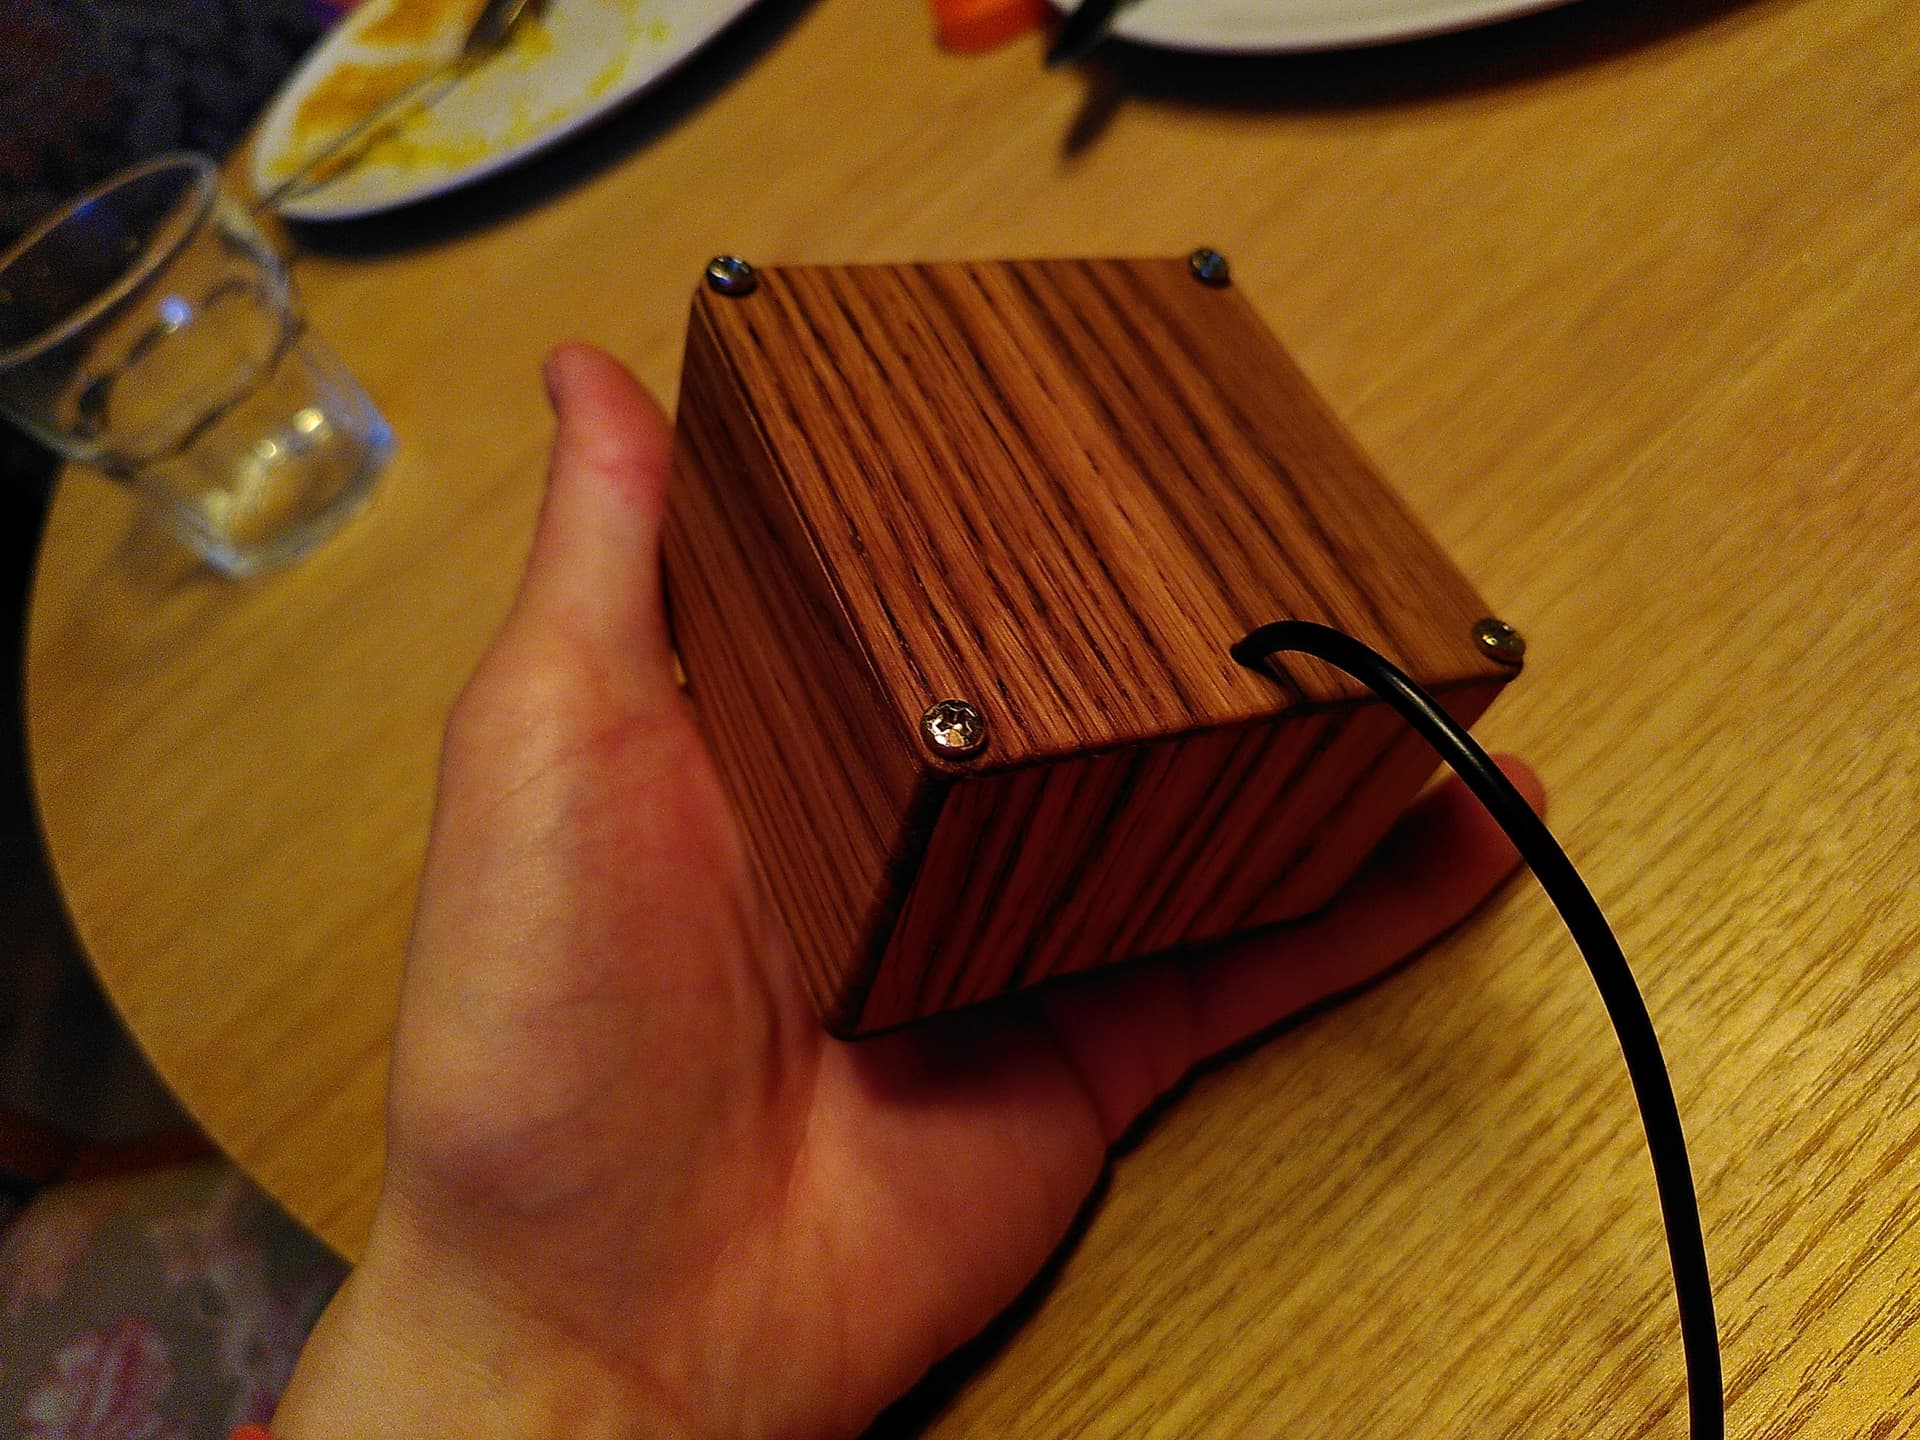
The first prototype was hacked together from a hardwood engineered flooring sample.
Testing magnets with USB wire jammed in from behind - 10mm diamater
This was fine so I cut it out (previous attempts to drill the holes from an already cut piece smashed up the wood around the corners) and after many days of laborious sanding and sawing and gluing ended up with the first box
After I posted this stuff to Twitter someone said they'd like to buy one and how much would it be, so I was encouraged by this and figured I'd need a better design and process before making any for sale.
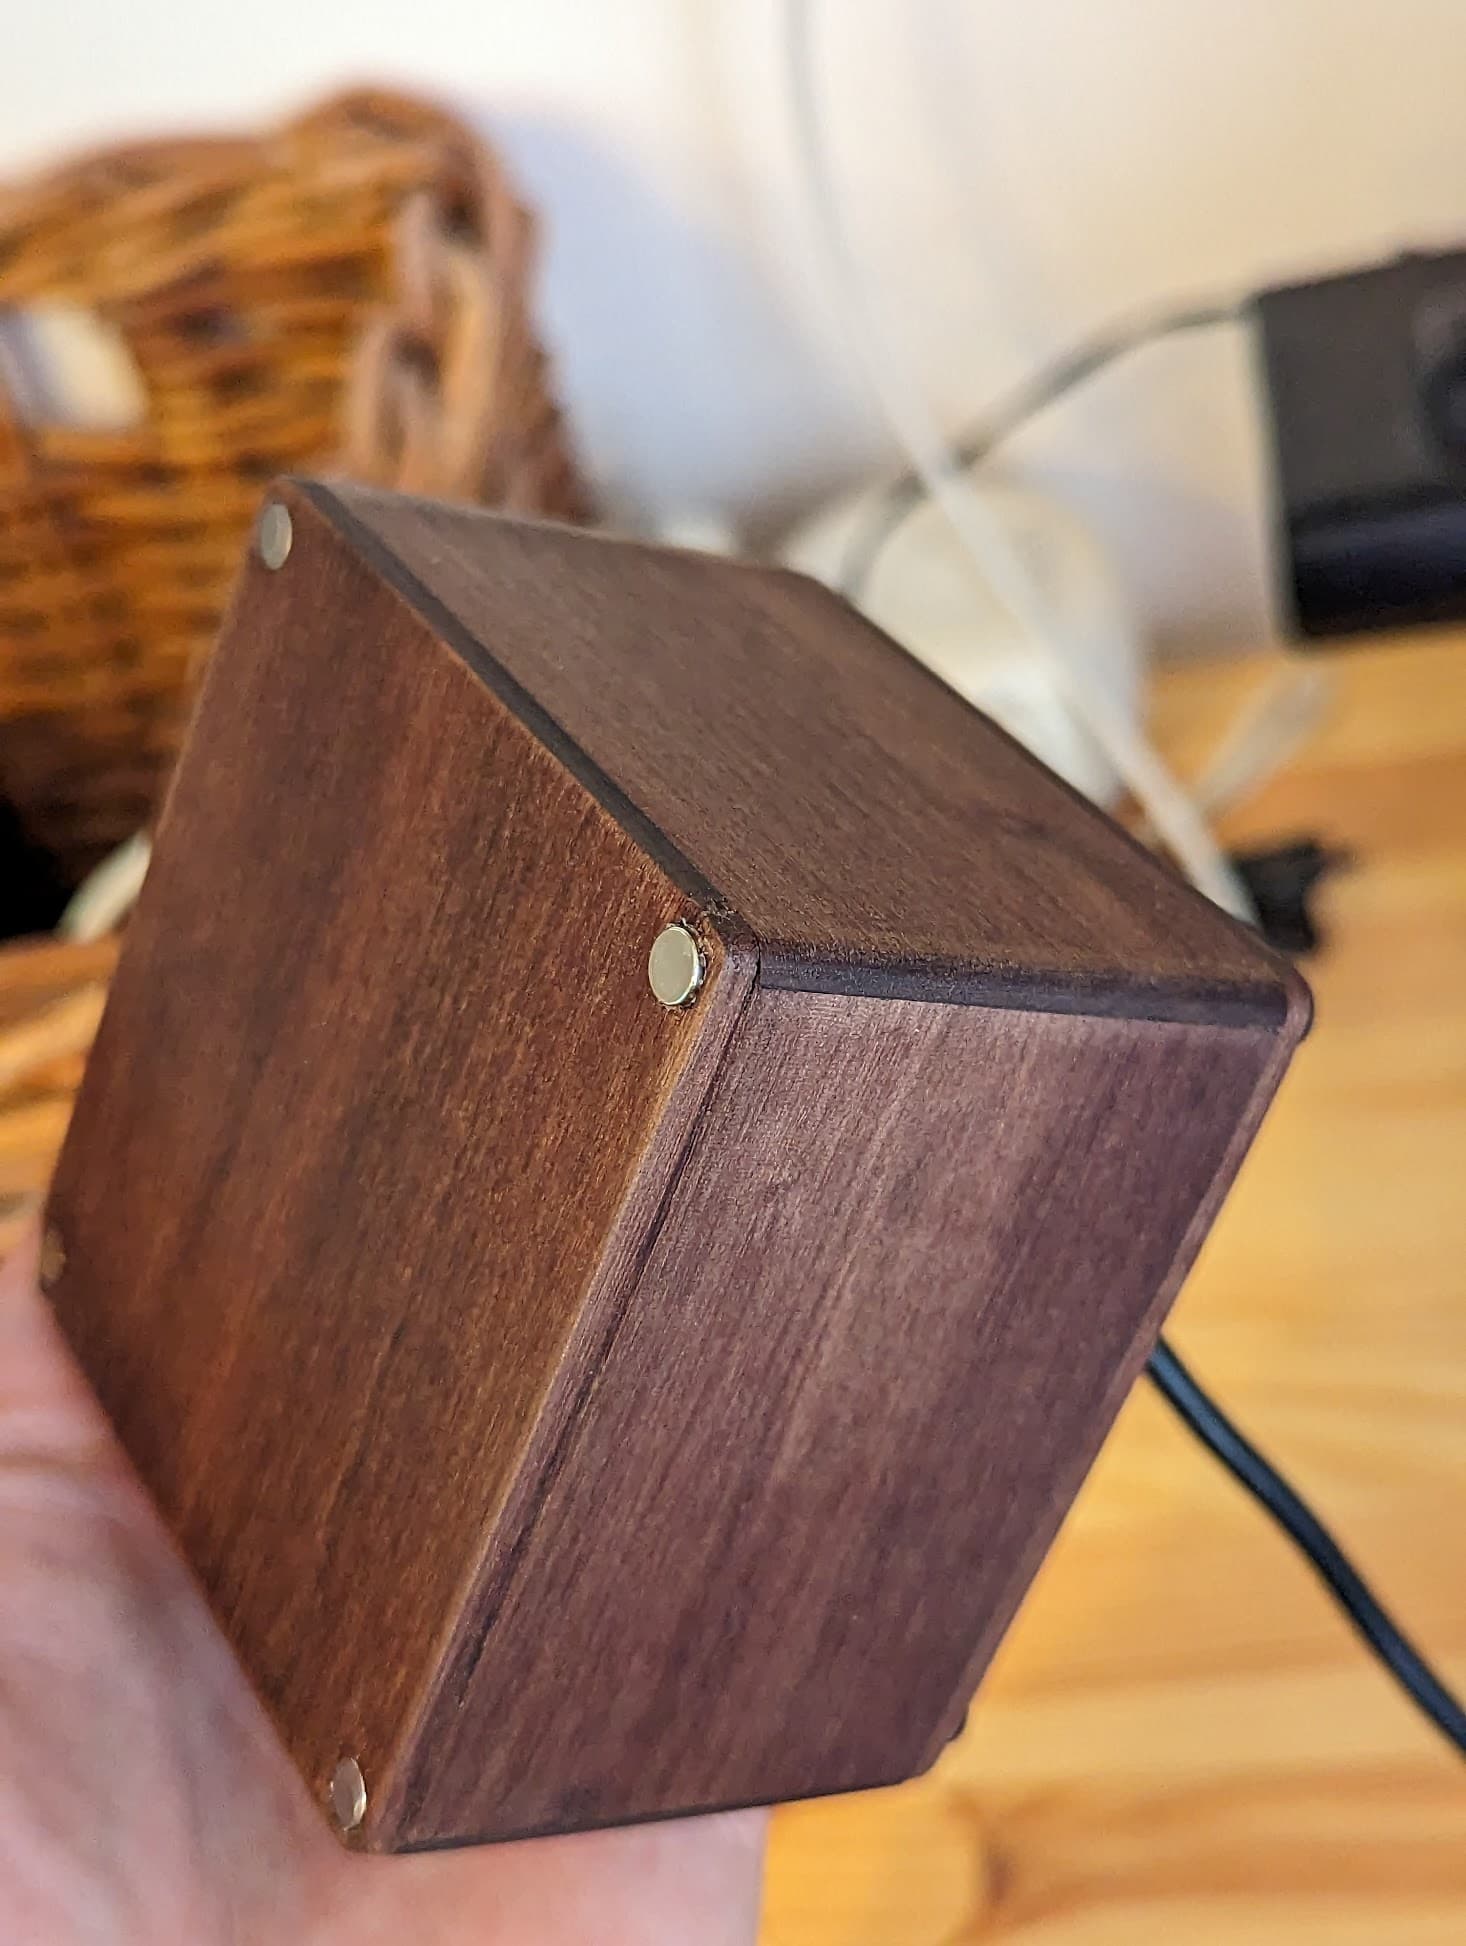
For the second prototype I ordered some wood veneer, 3mm walnut from an etsy seller.
Turns out walnut isn't that hard a wood! Oh well. I have some 5.5mm ply lying around so I made the inner box from that and stuck the walnut on top. Overall it was much easier but still a pain to saw it all by hand and sand it just right and glue it.
Thanks both!!
Morgan: Yeah, I thought about that, but it creates some annoying angles to cut/sand. Also I kind of didn't want it to look too retro, like one of those old 60s desk intercoms
Thanks folks!! @Vachi - this got me thinking about putting solar panels on it... @orkn this... is a more appropriate idea than you imagine, as given the wood theme I'm sure it would be a pencil holder, and I'm making a game about sharpening pencils for the playdate!
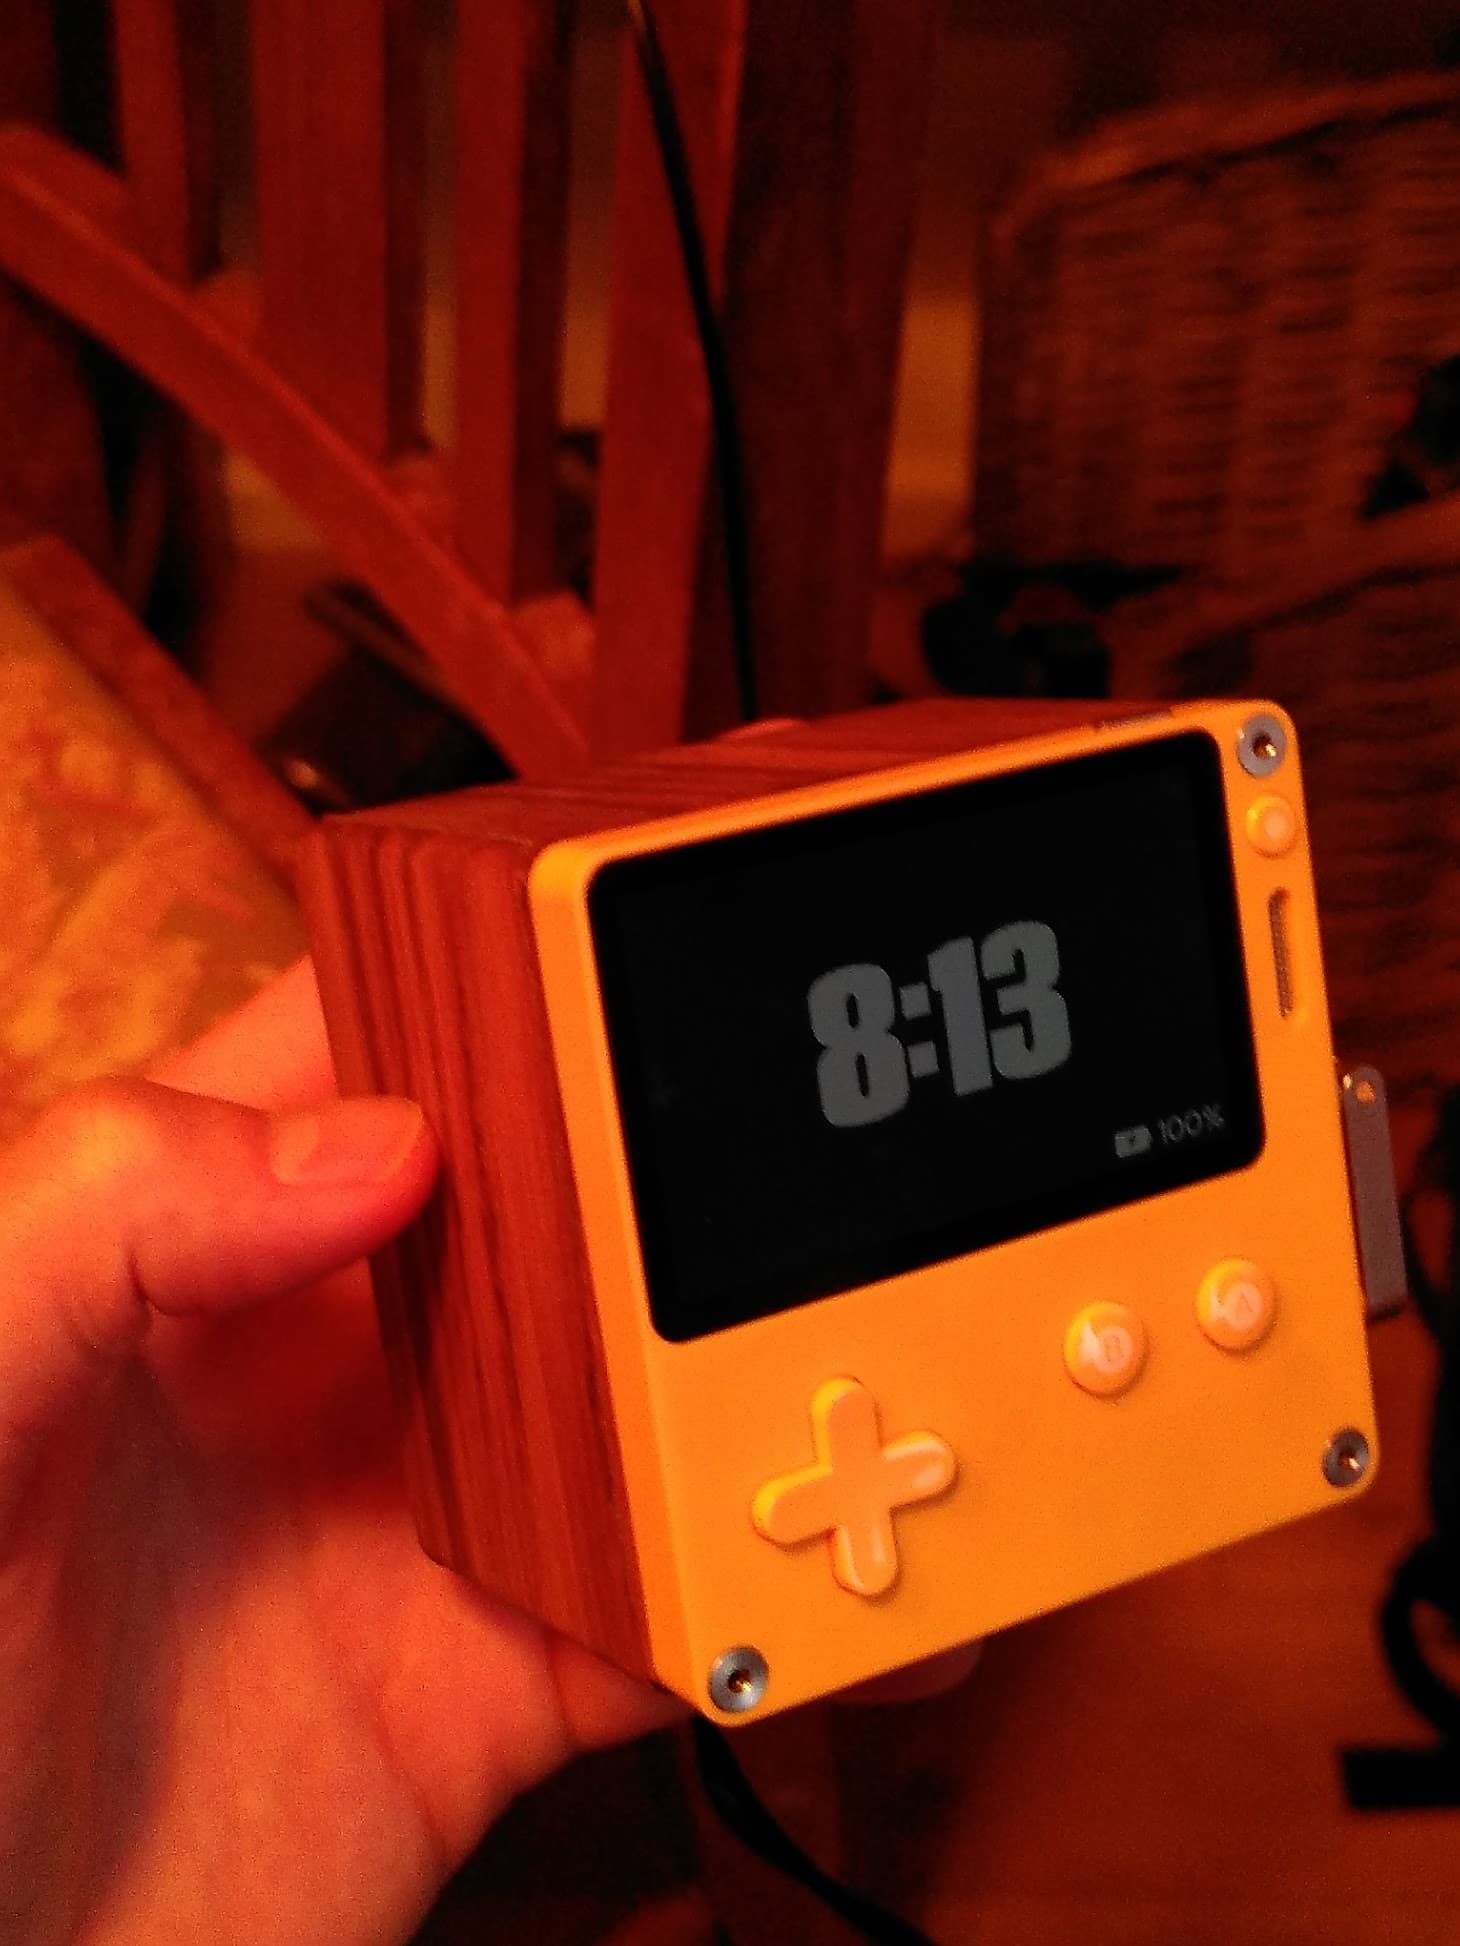
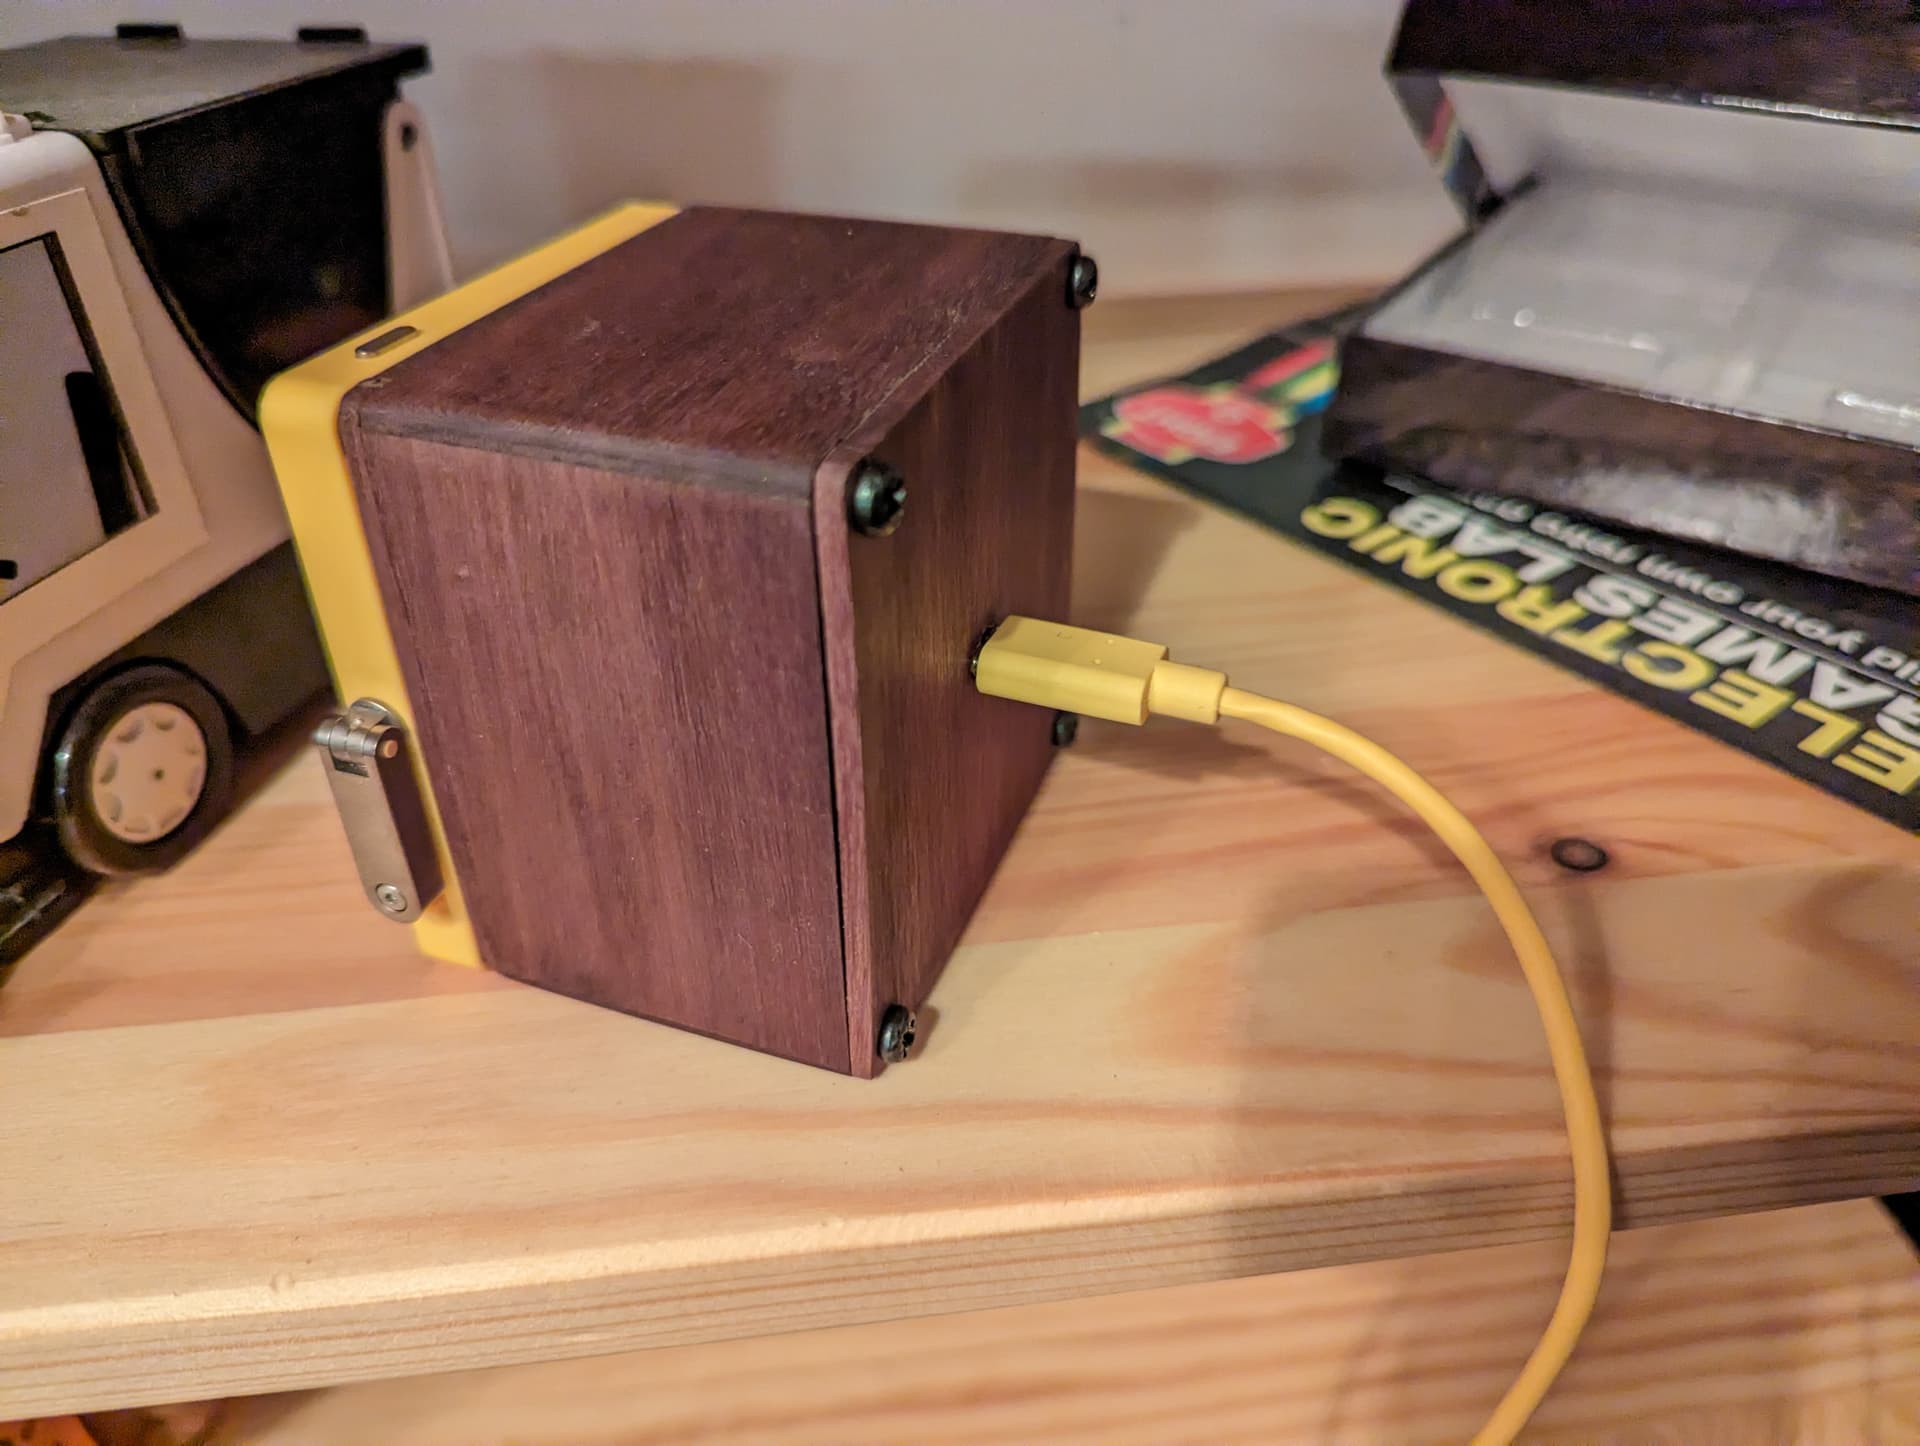
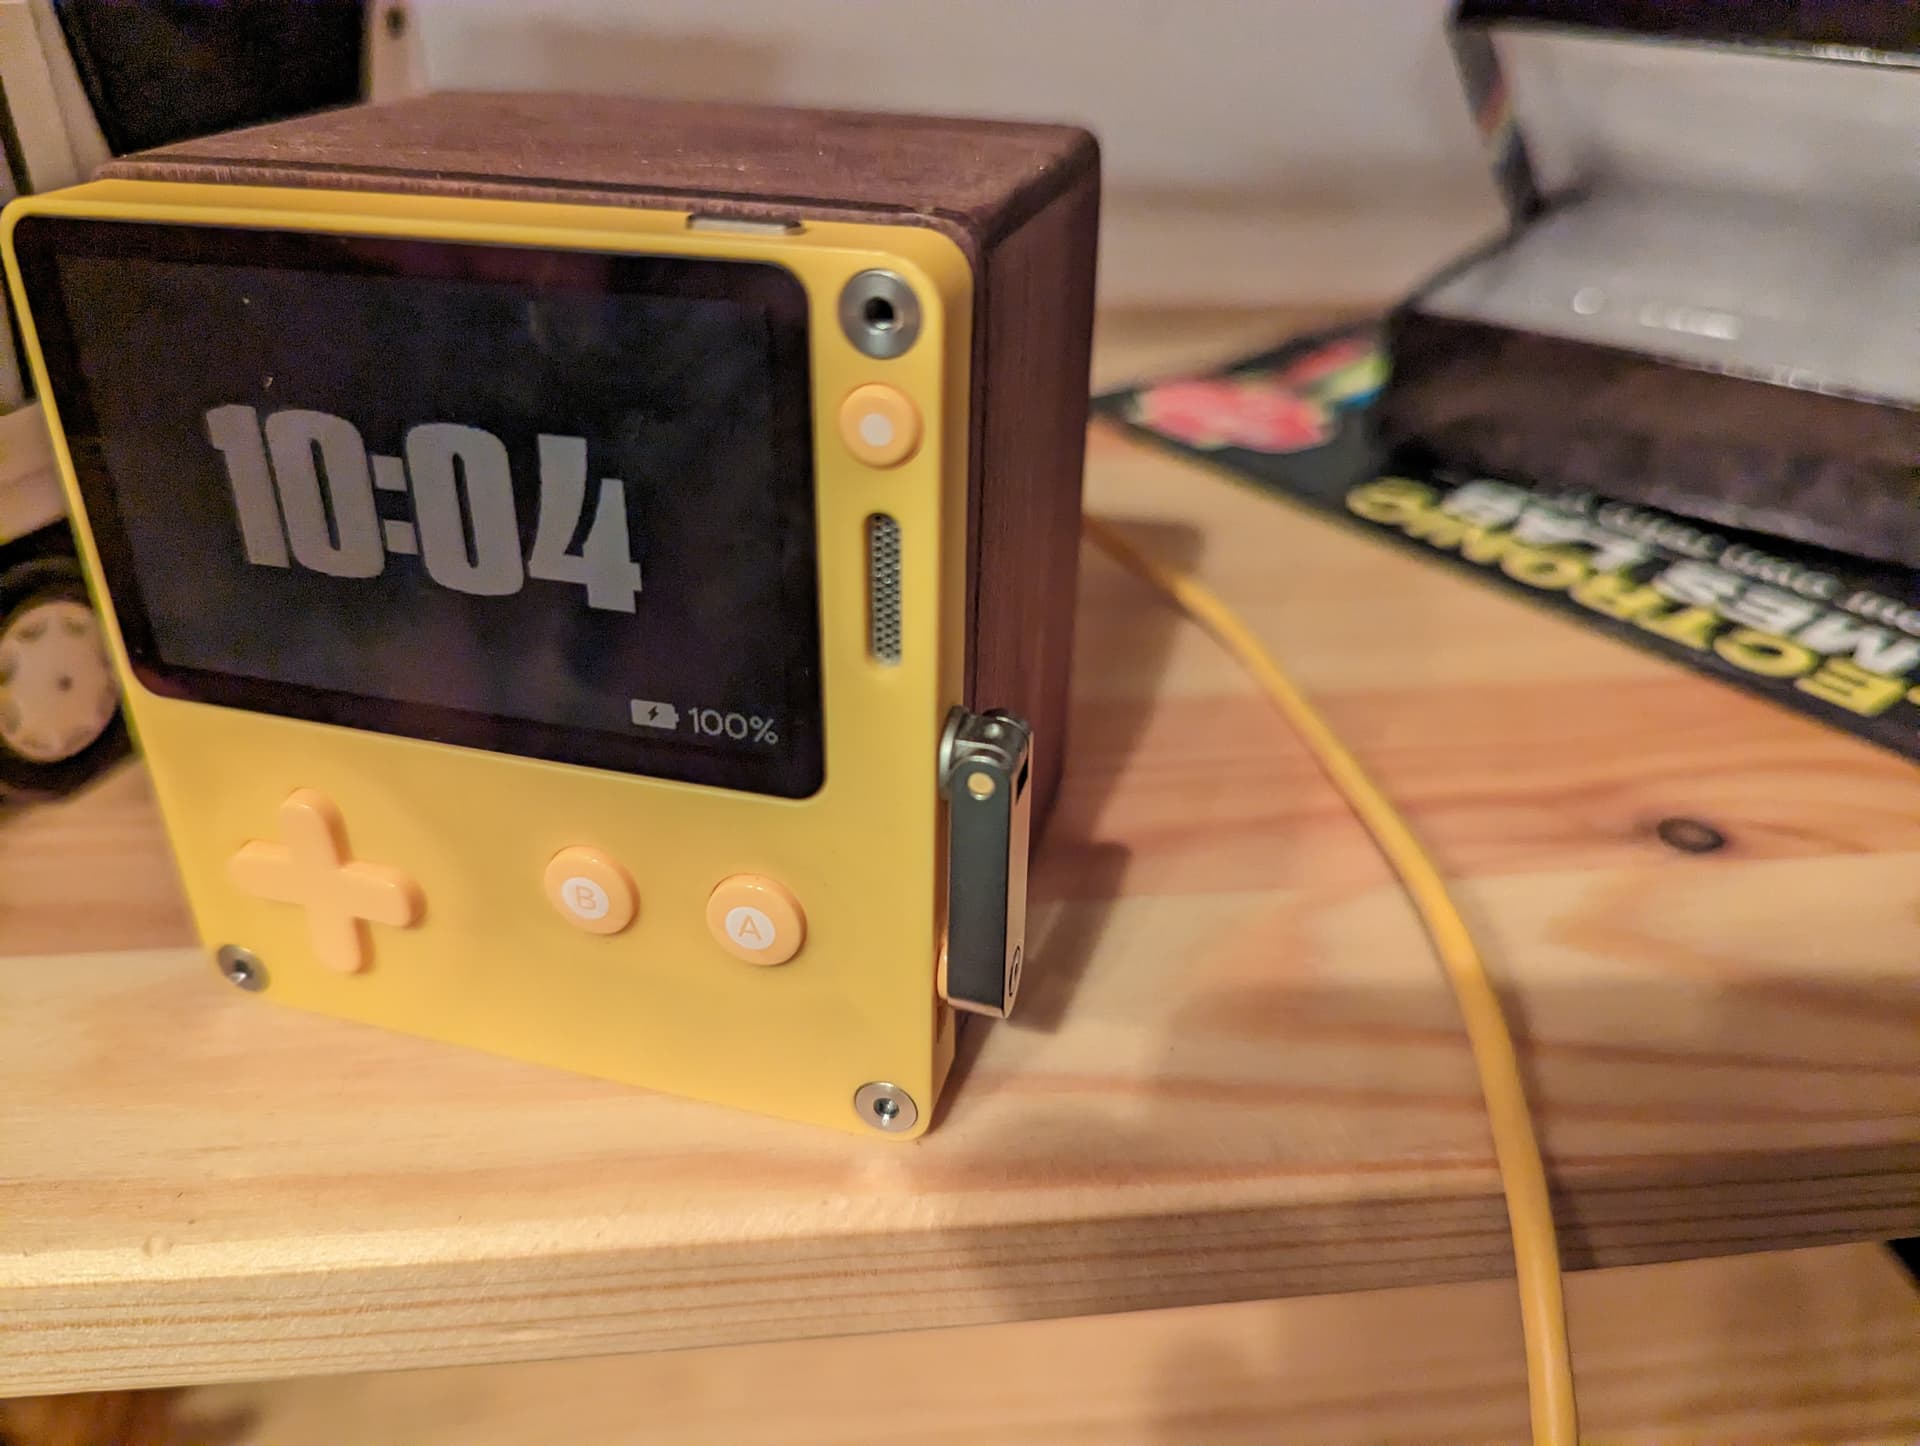
I ordered some usb 2.0 C-type receptacles, hoping that they'd give me a steady 5V. Seems like it! Wired it up and now my second prototype has a port instead of a wire.
These pieces aren't as accurately cut as I'd have liked. Some of the cuts aren't square, vertically. I'll see if there are any other people with a laser cutter around for the next one.
Gluing them together isn't wonderful either, I should have put some joints in to make it easier. I also forgot a hole in the inner back plate for the usb receptacle and the holes for the screws in the rear veneer plate are not in a great place either (my fault again).
Where I live, universities and libraries sometimes have free public "fab labs" or "maker spaces" where you can do 3D printing and cutting of all kinds. I made a 502-piece wooden board game at one—using what SEEMS to be your same plywood—and I can report the laser would always cut wider at the top than at the back surface, causing slightly slanted sides.
On the bright side, burning sap smells like pancakes.
Great info cheers. Seems like the best thing might be to do the long cuts with a table saw then. Or use thinner ply. I got some of these wooden assembly kits for kids that are obviously laser cut and their cuts are nice and straight (and also less charred). I guess there's good laser cutters and less good laser cutters
Also different woods respond very differently. And you can set the laser to different combinations of power vs. speed. Choose wrong and you can light the wood on fire! Or fail to cut.
I picked my power and speed values by educated guesswork, one small test run, and a crumpled reference chart taped to a wall
Also, a BIG factor for me is that this plywood had a very slight curve. Didn't sit totally flat. Which means the laser was hitting it closer (resulting I believe in a wider cut) on the elevated portions. My game has some unwanted variation from that, plus the very MOST elevated places did not even cut fully. I had to use an Xacto to finish.
But I just couldn't find a totally flat piece of wood as thin as I needed (.25").
If you don't have to operate the laser cutter youself, that's hassle saved!
Main thing I wanted from the laser cutter is to do the holes, which are difficult to do with a drill. Might be worth just getting just those lasered and then doing the cuts with a nice mitre hand saw. Will have to buy one first though
Laser cutters can also engrave—the cutter I used for my board game first burned grayscale images onto the pieces at low power, then switched to higher power to cut them all out. So maybe the place that lasers your holes can, at the same time, engrave perfect lines for you to saw along. (Weaker power than your logo even.)